IM · Photography & darkroom
Read a Contact Sheet Before You Print
Mark a contact sheet with a loupe and a grease pencil before any negative reaches the enlarger: compare frames side by side, grade for density and sharpness, and choose the one worth a test strip.
By Kook & HoomenPublished 881 wordsIM-003

Print the contact sheet before you print anything else. Lay every frame of a roll side by side at the same exposure and the same small size, and the sheet does the first job of editing for you: it shows which negative actually has the density, the sharpness and the moment, before a single sheet of paper goes under the enlarger.
A contact sheet costs one sheet of paper and five minutes under the safelight. Skipping it and printing straight from the strip costs paper on every frame that turns out thin, soft or simply the wrong one in the sequence.
What is a contact sheet actually showing you?
It shows relative density and relative sharpness, nothing absolute. Every frame on the sheet was exposed and developed the same way, so differences between frames are differences in the negative itself, not in your printing choices yet. A frame that looks darker than its neighbours on the sheet has more density; one that looks pale has less. That comparison is the whole value of the sheet, and it only works because nothing else changed between frames.
Expose the sheet so the clear film base between frames reads as a true black, a common darkroom habit often called "minimum time to maximum black": find the shortest exposure at which the clear rebate prints as full black, and read everything on the sheet against that reference. Get that one exposure right once per roll, and every comparison across the sheet is trustworthy.
How do you mark up a sheet to choose a negative?
With a loupe and a soft pencil, in this order.
- Scan the whole sheet at arm's length first, no loupe. Eliminate the frames with obvious problems: camera shake, closed eyes, a cut-off subject. Cross those out.
- Go back with the loupe, one frame at a time,. Check focus at the point that matters in the frame, not the frame's geometric centre.
- Circle the two or three strongest survivors per subject. Write a one-word note beside each: "thin," "flat," "sharp," "soft eyes." That note is what separates a sheet that's useful next month from one that's only useful today.
- Pick one winner per subject and mark it with a dot in the corner. That dot is the negative that goes under the enlarger.
Keep the marked sheet with the negative sleeve. A year from now the pencil marks answer "why this frame" faster than re-running the whole roll through the loupe again.
Density or sharpness: which do you trust first?
Density first, because it sets whether a frame can be saved at all; sharpness second, because it decides whether it is worth the effort.
A negative that is noticeably thin or noticeably dense relative to its neighbours on the sheet usually means an exposure or development variation, and it will fight you at the enlarger even with the right paper grade. A frame that is merely soft in a corner but correctly exposed is still printable; you crop, or you accept the softness as part of the image. Between two otherwise equal frames, the one with density closer to the sheet's normal range wins, because split-grading or a long test strip can rescue moderate softness but cannot invent density that was never recorded.
When is a frame not worth printing at all?
Three signs on the contact sheet, read without a loupe, usually settle it before you waste paper:
- The frame reads noticeably lighter or darker than every other frame on the roll, with no visible reason (not a different subject, not a deliberate exposure change). That is usually a metering or shutter fault, and the information lost at that density rarely comes back on paper.
- Every frame of a short sequence looks identical at arm's length. Pick one representative frame and stop; printing all of them teaches nothing extra and spends paper for no gain.
- The subject is clipped by the frame edge in a way the loupe confirms is not a composition choice. No amount of printing craft recovers a subject that was never recorded.
A sheet that passes this screen before the loupe stage saves real time: you only pull out the loupe for frames that already cleared the easy tests.
Build the habit into the roll, not just the print session
Treat the contact sheet as part of developing the roll, not as a separate errand before printing. Shoot, develop, contact print, mark up, then decide what goes to the enlarger that week. Rolls that skip straight from developer to enlarger tend to get printed in the order they were shot rather than in the order they deserve attention, and the weak frames get the same paper and time as the strong ones.
The sheet is also the fastest way to spot a development problem across a whole roll, before it shows up as a ruined print. If every frame on a sheet reads thinner than normal, the fault is in the chemistry or the agitation, not in any one exposure, and that is worth knowing before the next roll goes through the same tank.
Sources
- Contact print (Wikipedia), on proof sheets made from whole rolls of 35 mm and 120 film to select images for enlargement and to catalogue them.
Reading notes
Next on the programme
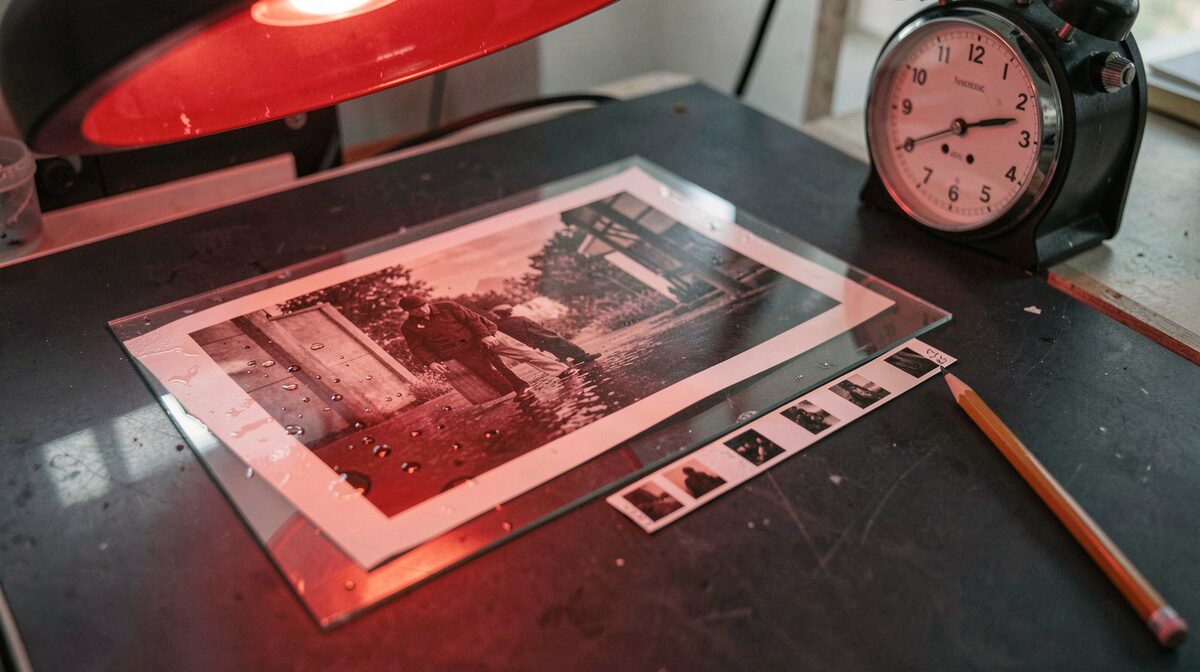 IM-002 · Photography & darkroomSplit Grade a Fibre Print and Read the Test Strip
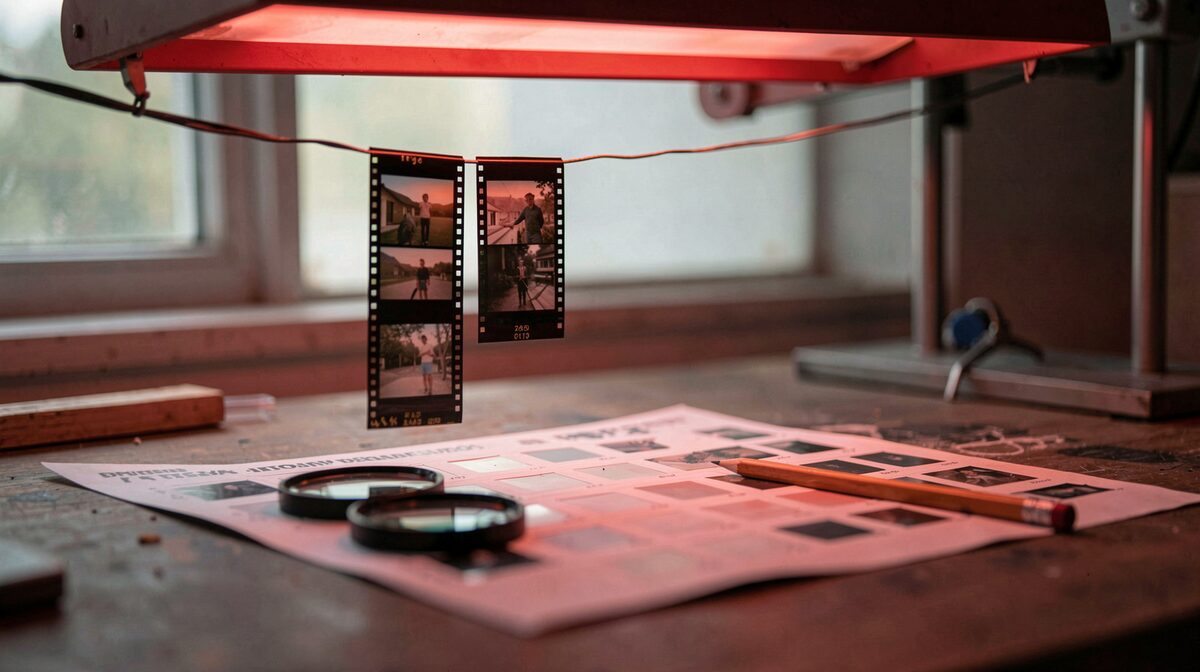 IM-001 · Photography & darkroomExpose for the Print, Not the Meter
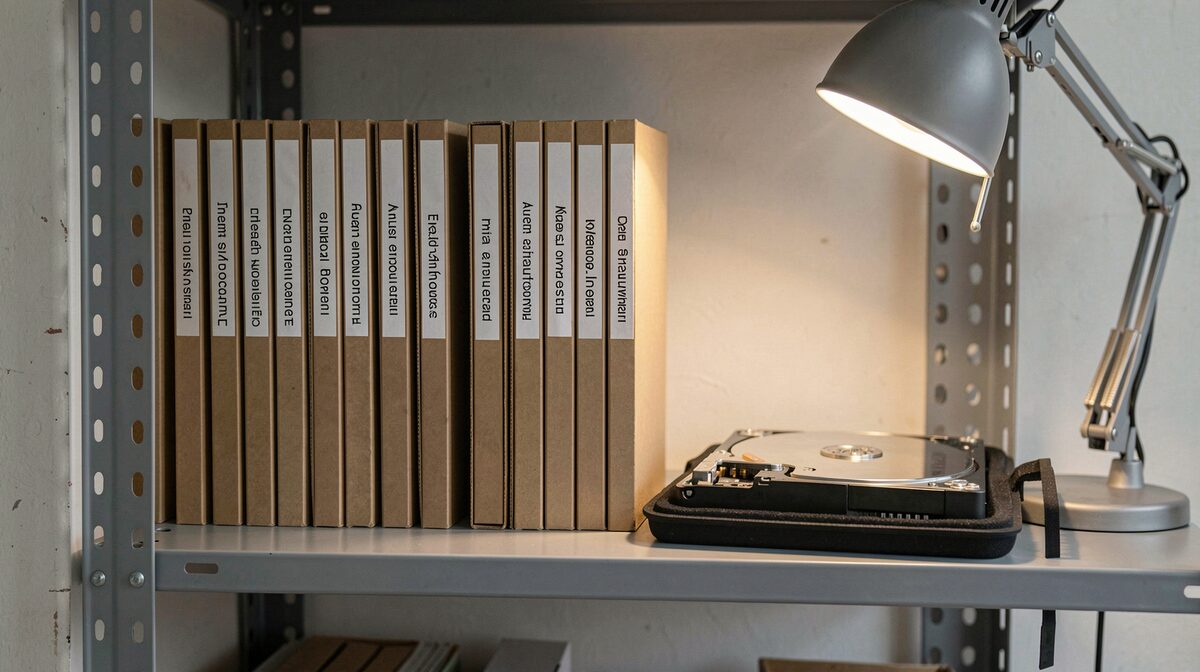 CR-002 · Craft & notesLog Every Session So You Can Find the Take Later

